
Messi có bao nhiều quả bóng vàng? Kỷ lục và sự nghiệp bất tử
Lionel Messi là biểu tượng lớn của bóng đá hiện đại, được nhắc đến bởi kỹ thuật, nhãn quan, khả năng ghi bàn và bộ sưu tập danh hiệu đồ…
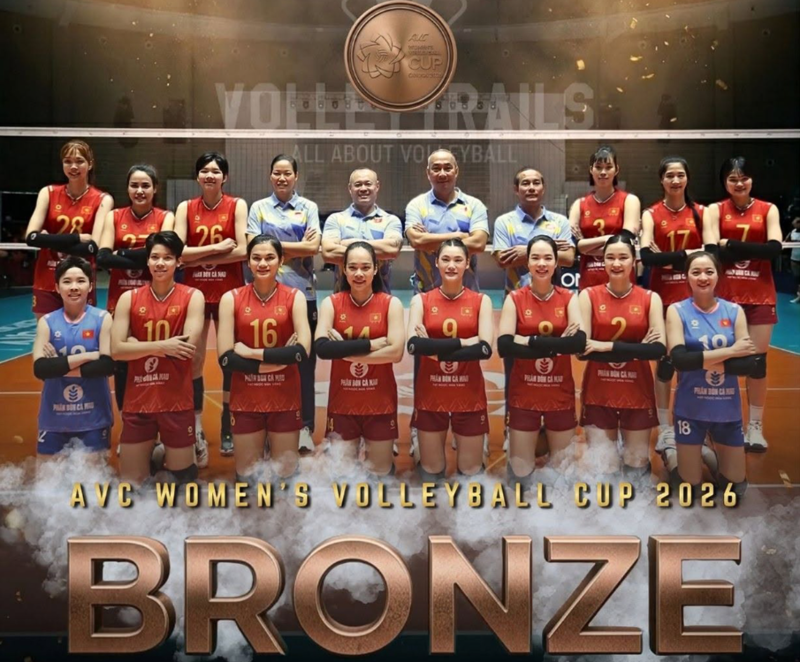
Bóng chuyền nữ VN bứt phá, khẳng định vị thế tại châu lục
Những năm gần đây, bóng chuyền trở thành một trong những môn thể thao nhận được sự quan tâm lớn của khán giả trong nước. Bóng chuyền nữ VN nổi…
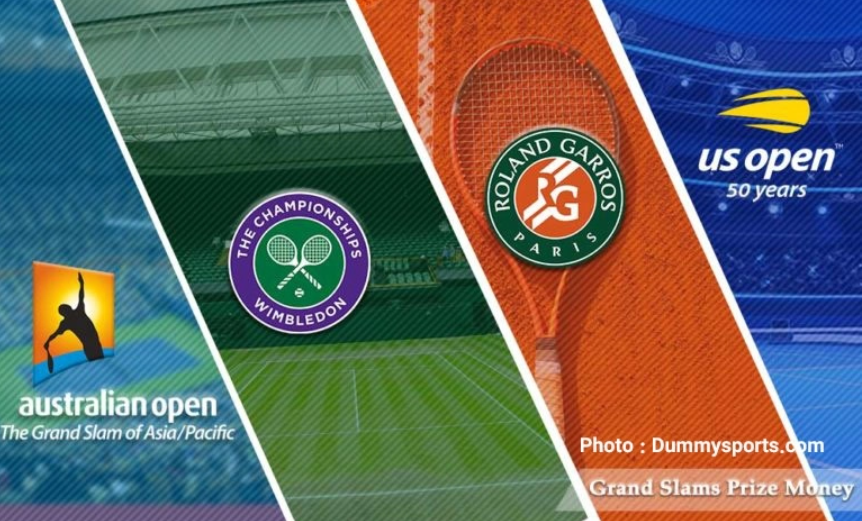
Grand Slam tennis: 4 giải đấu danh giá của quần vợt thế giới
Trong quần vợt chuyên nghiệp, có những danh hiệu mang giá trị vượt xa một chiếc cúp thông thường. Grand Slam tennis là hệ thống 4 giải đấu lớn nhất,…
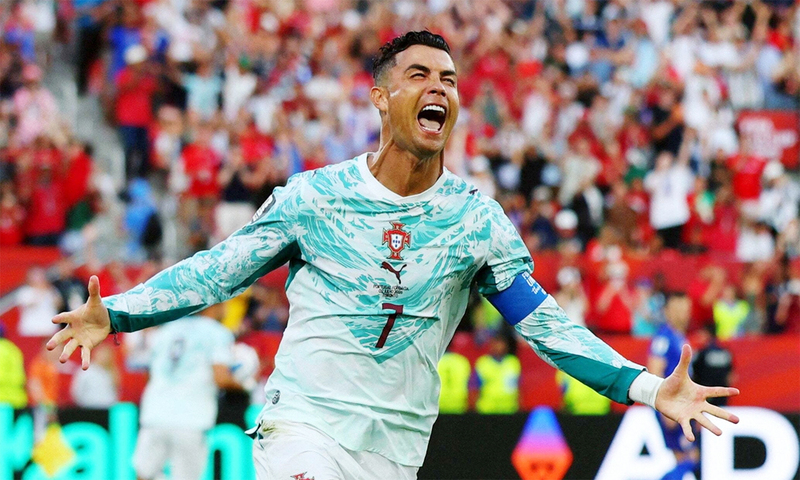
Ronaldo ghi được bao nhiêu bàn thắng rồi: Cập nhật mới nhất
Cristiano Ronaldo vẫn là một trong những chân sút vĩ đại nhất lịch sử bóng đá, dù đã bước sang tuổi 41. Ronaldo ghi được bao nhiêu bàn thắng rồi…

Hậu vệ hay nhất thế giới: Top ngôi sao phòng ngự đỉnh cao
Bóng đá hiện đại không chỉ tôn vinh những tiền đạo ghi bàn, mà còn đề cao các hậu vệ biết kiểm soát không gian, đọc tình huống và phát…
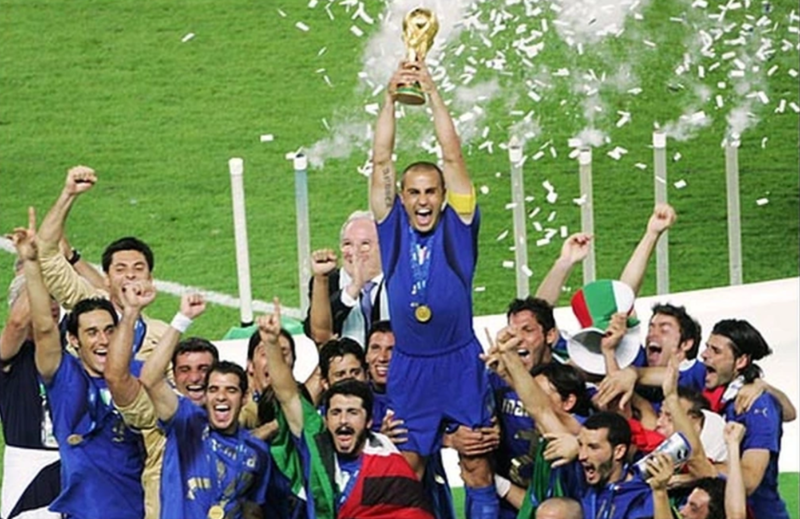
Ý vô địch World Cup mấy lần? Lịch sử 4 lần huy hoàng Azzurri
World Cup là sân khấu danh giá nhất của bóng đá, nơi mọi quốc gia đều mơ chạm tay vào chiếc cúp vàng. Khi nhắc đến Azzurri, câu hỏi Ý…

Bóng chuyền VTV Cup: Lịch đấu, đội mạnh và ngôi sao hàng đầu
Bóng chuyền nữ Việt Nam đang bước vào giai đoạn có sức hút lớn với người hâm mộ trong nước. bóng chuyền VTV Cup là giải đấu quốc tế quen…
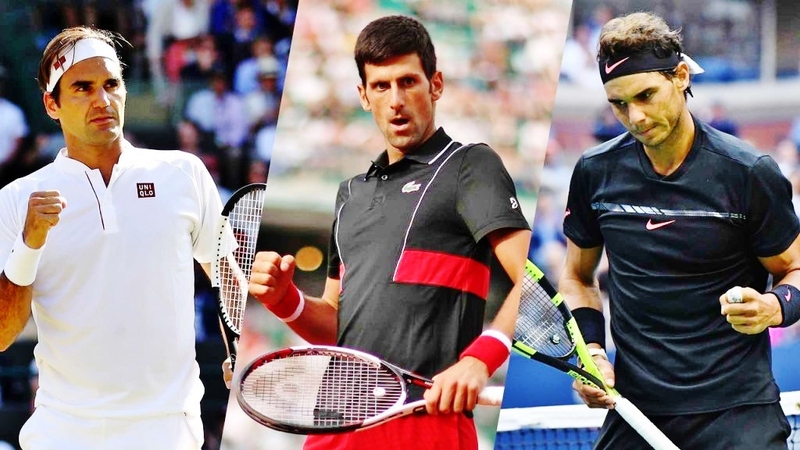
Quần vợt thế giới: Grand Slam, sao lớn và những huyền thoại
Tennis là môn thể thao giàu tốc độ, chiến thuật và cảm xúc, thu hút hàng triệu người theo dõi trên toàn cầu. quần vợt thế giới không chỉ xoay…
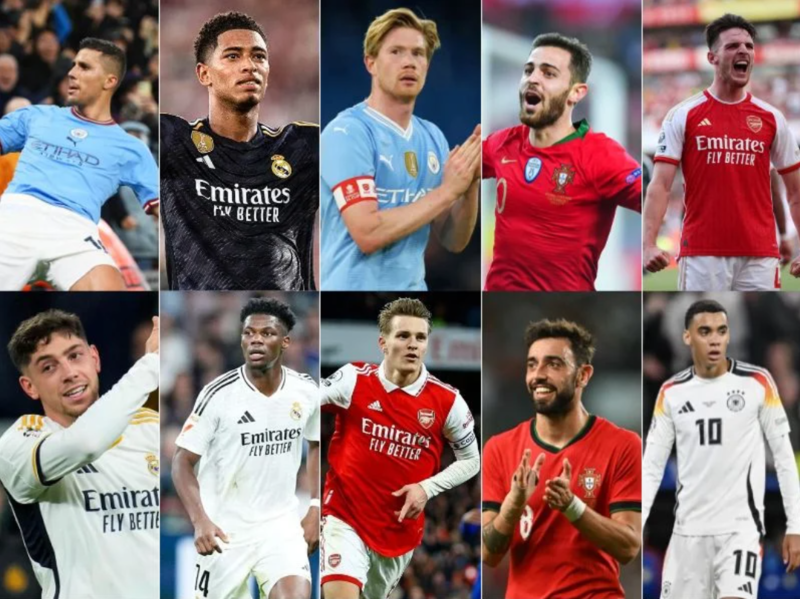
Tiền vệ hay nhất thế giới: Top ngôi sao tuyến giữa hàng đầu
Bóng đá hiện đại không thể vận hành tốt nếu thiếu một tuyến giữa thông minh, bền bỉ và giàu sáng tạo. tiền vệ hay nhất thế giới không chỉ…